

Travel

OK, so this is probably the most common question I get asked, and now that I’ve finally (kinda!) figured out my process, I thought it’s only fair to share with you all how I go about getting the best out of my photos… So let’s get started!
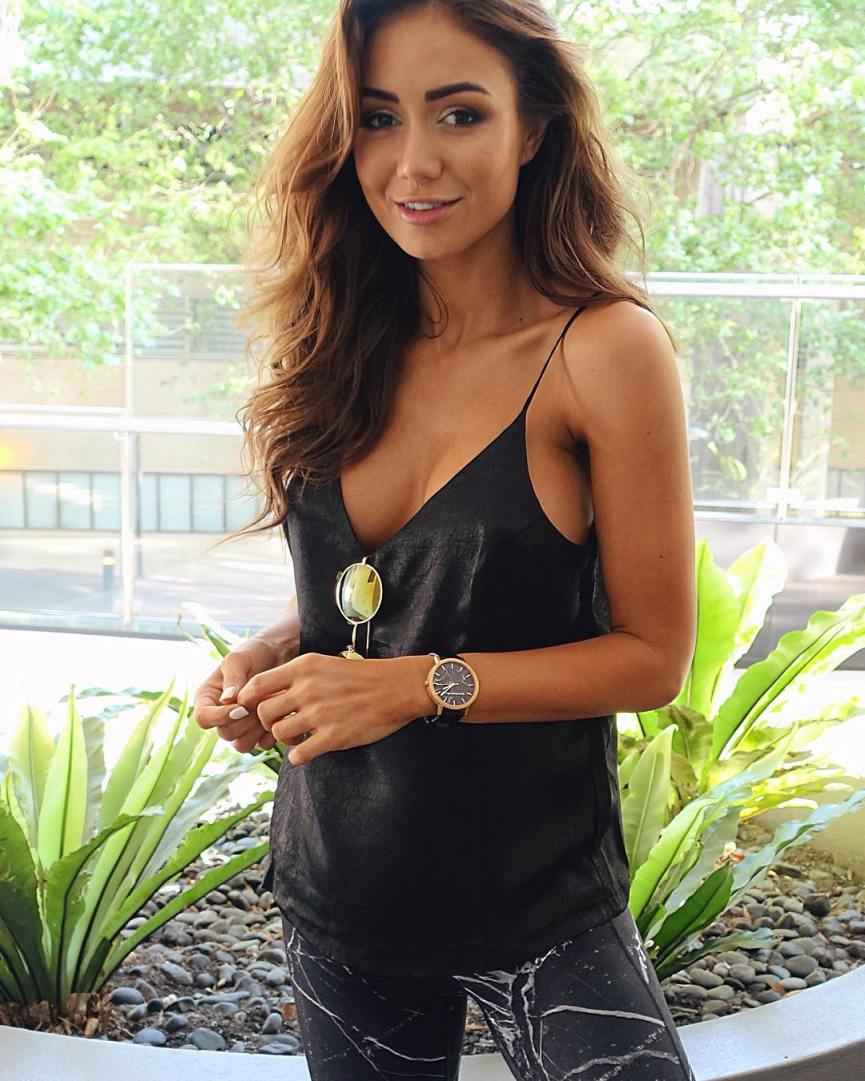
Firstly… (having a photographer as a boyfriend taught me this…) you’ve got to find your light.
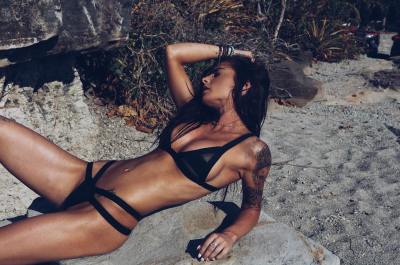
What I mean by this is, you need to decide how you want your face to look, I prefer facing the light because I don’t like shadows on my face coming in from the side. That’s a personal preference, you might like the light/dark thing, but it’s just not my favourite style of selfie. Once you’ve decided that, find your ‘side’. Yup, I’m serious… very few people are totally symmetrical so you might have a side that just looks better than the other. Kane’s side is his right side, and my best side is my left. You’ll notice if we are taking a shot together he’s generally always on the left of the photo (from the cameraman vantage point) and I’m always on the right, which means we can face in to each other a little and our best angles are facing the camera. I know this probably sounds a little silly, but these are the things a pro-photographer will do when you are on a photoshoot, so why not use those techniques in your selfies too! ?
If you are taking a selfie, hold your phone in the hand that is ‘your side’. This will make your body naturally shift and twist to allow your best side to ever so slightly face the camera more. Now put those tips together, and hold your arm out as far as feels comfortable whilst still being a little higher than your head itself, and you’ve got my favourite angle.
If you are a girl, you’ll know that this is the part where you hold down the burst button on your iPhone and take about 4,293 selfies before spending the next 2 hours choosing your favourite. LOL ?
OK, so you’ve chosen your favourite now… so what next?
For me, Instagram filters are just terrible. I don’t know why they haven’t spent more time making better quality filters, so I use external apps before loading my photo in to Instagram.
Firstly, I use Snapseed.
Snapseed is a free app from Google, and it is incredible. It can do a million things, but I only use it to lighten my images. My personal preference is bright and vibrant, I know some big bloggers like to share more muted photos with deep shadows, but for me bright = happy, so that’s me.
YOU’LL NEED TO TWEAK THESE SETTINGS FOR EACH PHOTO ACCORDINGLY, BUT I’LL ALWAYS INCREASE THE BRIGHTNESS BY ABOUT 20, AND THEN ADD A LITTLE MORE CONTRAST TOO… DEPENDING ON THE PHOTO, SOMETIMES UP TO 15 OR 20 ALSO.
Save the photo.
Secondly, I use VSCO.
VSCO, make world class filters for Mac apps like Photoshop and Lightroom, each filter can run over $100, but they are incredible. Thankfully, VSCO have released an iPhone app with a cut down version of their filters. You should buy these filters, from memory I think I spent around $40 on all the filter sets, but they really are worth it.
I then load my Snapseed-brightened image in to VSCO (The interface is a bit weird, you’ll get confused, trust me, but work with it). Believe it or not, I often then brighten the image a touch more here too. It’s technology of brightening the image is just ‘different’ from Snapseed, and I personally like the effect of doing it twice, once in each app. This isn’t always necessary mind you, with this process, you really need to tweak it to each image. So long as you remember you are trying to make the image pop both in terms of brightness (without making the blacks turn light grey) and vibrance (without making your skin look radioactively glowing) you’ll end up with a great image.
The reason I say try/buy all the filters in VSCO, is because they really lend themselves differently to different skin tones. I know some girls with really light skin who use one filter, but then when I use the same filter I end up looking bright orange or my hair goes a funny colour, so really ‘find your filter’ and use it regularly. The consistency will look good on your page anyway.
For me, I regularly use about a 40-50% strength of A1, 20% of C4 (If I need the image to ‘come down in vibrancy whilst keeping my tan) or 30-50% of E1 if I really want a summer vibe glow with my photo.
From there, I always do my best within VSCO to straighten the image. I like my horizon to be horizontal (lol!) and then I’ll sharpen the image so my lashes and hair are crisp. I like that look.
There is one final thing in VSCO which is awesome. If you are photographed in the wrong light, like under a flouro bulb, that can make you look all kinds of strange colours, thankfully within VSCO there is a skin tone adjustment which will help you bring your skin back to the land of the living. I’m forever grateful for this tool!
Finally, and this is optional, I sometimes throw the photo in to Enlight.
Enlight is a cool app that amongst other things allows you to ‘heal’. We all get the occasional mark on our skin, be it a bruise, cut, blemish or pimple that would look better if it wasn’t there. As I’m often shooting in a bikini on a beach, it’s hard to avoid ever getting bitten by bugs, or scratched too. The Heal tool allows me to simply swipe over it, and using some mighty clever mathematics it removes the blemish and fills the space back in with skin pixels from around the edges. It’s a really awesome way to give your photo great looking skin without resorting to the horribly excessive smoothing that I see on some photos.
You’re all set.
Save that photo, import it into Instagram. You might want to further add a touch more brightness and a tiny bit more sharpness to the image before hitting post without having to reduce the quality of your photo with Instagram’s own low quality filters.
That’s it, yes it’s a little bit of a process but if you are not shooting with a big DSLR camera professionally, this is a great way to get the best out of a camera inside your phone that is not much bigger than an ant!